First of all, I want to give some credit to LinguineCode for the perfect introduction on how to start a blog, but I decided to make that a bit simpler. I decided that I do not want to go through too many steps to actually launch this, since many say that getting started is the most important thing. Therefore I launched this in one hour about.
Creating a simple Gatsby blog
The first thing I did was use Gatsby Blog Starter to generate a new blog project
npx gatsby new gatsby-starter-blog https://github.com/gatsbyjs/gatsby-starter-blog
After that I changed a few simple things.
I generated a new profile picture instead of the default one using this site, copied a simple avatar from the bottom and changed the profile-pic.png to this.
Remember to change src/components/bio.js if your file ending is different. In src/gatsby-config.js, change the author, Twitter handle as well as the bio information. This will be populated all over the site.
Adding Google Analytics to track users
- Go to Google Analytics
- Create a new account
- Modify your
src/gatsby-ssr.jsand add your tracking links from Google Analytics:
const HeadComponents = [
    <script
    async
    src="https://www.googletagmanager.com/gtag/js?id=YOUR_GID"
    />,
    <script dangerouslySetInnerHTML={{
    __html: `window.dataLayer = window.dataLayer || [];
          function gtag(){dataLayer.push(arguments)}
          gtag('js', new Date());
          gtag('config', 'YOUR_GID');`
    }}/>
]

exports.onRenderBody = ({setHeadComponents, setHtmlAttributes}) => {
    setHeadComponents(HeadComponents)
    setHtmlAttributes({lang: `en`})
}
Modify and delete the old blog posts
Go to content/blog and either delete or modify the blogs that you have there. Write a few simple ones first. Anything will do basically, just to populate the blog.
Push to Github
- Go to GitHub
- Create a new repository named
blogor something else - Go to your terminal window and set the git remote with
git remote add origin git@github.com:YOUR_GITHUB_USERNAME/YOUR_REPO_NAME.git git push
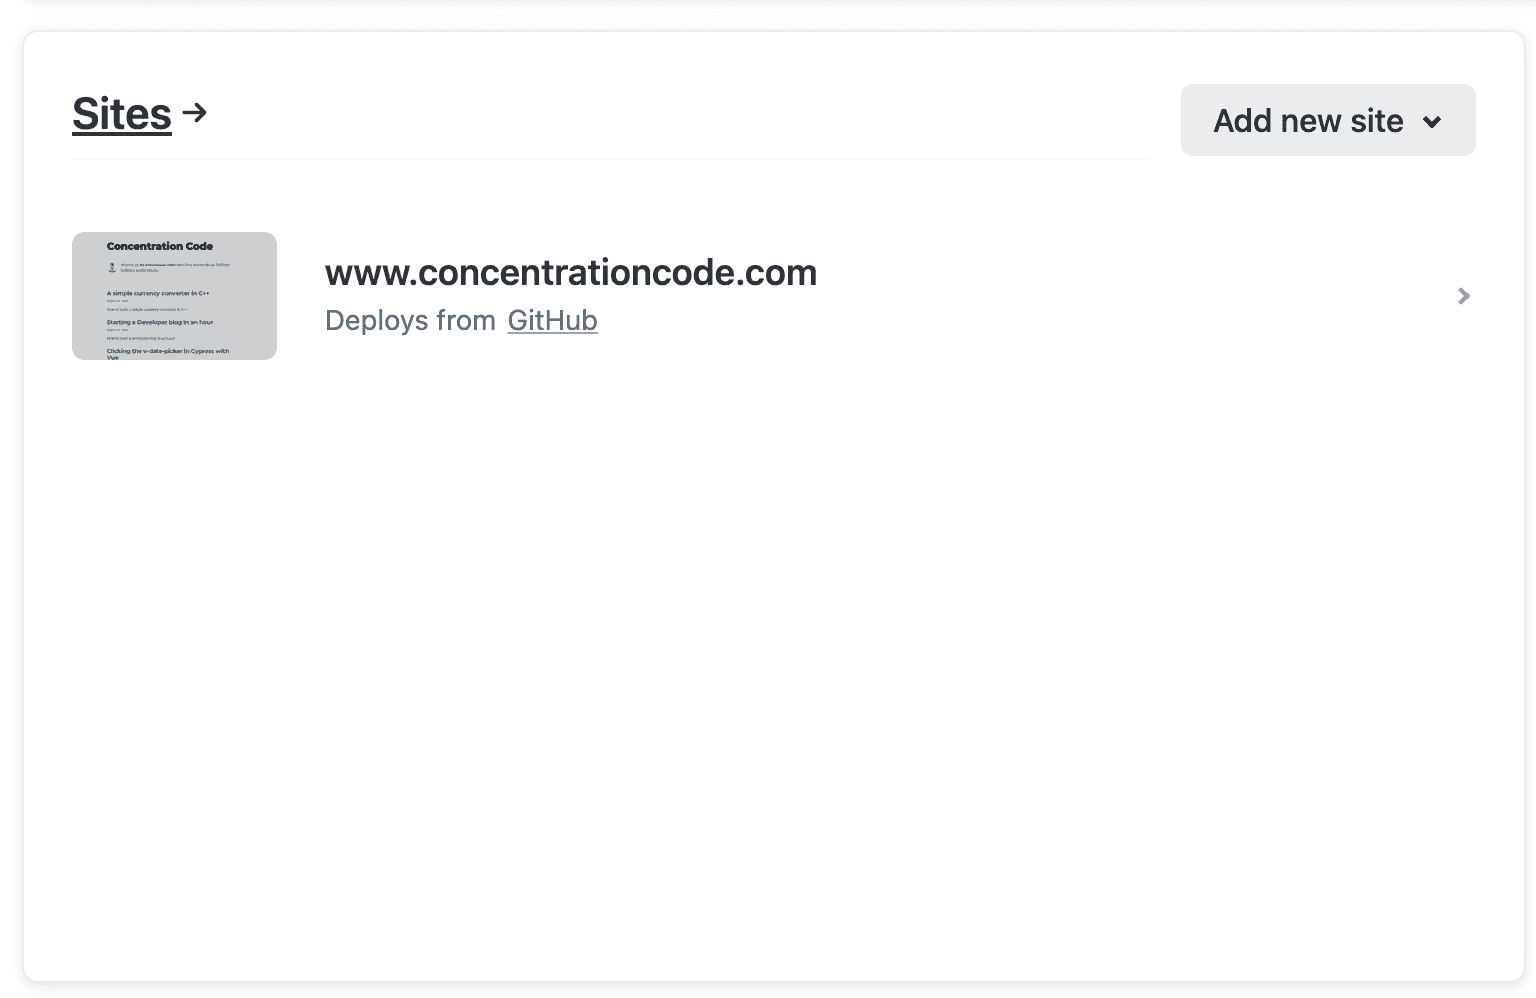
Deploy to Netlify
- Create a Netlify account or login to your old
- Click the “Add new site” if you already have an account, or connect Github which should be visible on the frontpage
 3. Connect your Github repo to Netlify
4. Voila, page is being deployed!
3. Connect your Github repo to Netlify
4. Voila, page is being deployed!
Buy a domain through Netlify
Have a name in mind? Netlify has a few very easy steps to buy a domain through their webpage, and you’re good to go.